Collaborating
04 March 2025
Objectives
- Clone a remote repository.
- Collaborate by pushing to a common repository.
- Describe the basic collaborative workflow.
Questions
- How can I use version control to collaborate with other people?
![]()
Exercise
We will work in pairs. One person will be the “Owner” and the other will be the “Collaborator”. The goal is that the Collaborator add changes into the Owner’s repository. We will switch roles at the end, so both persons will play Owner and Collaborator.
If you’re working through this lesson on your own, you can carry on by opening a second terminal window.
![]()
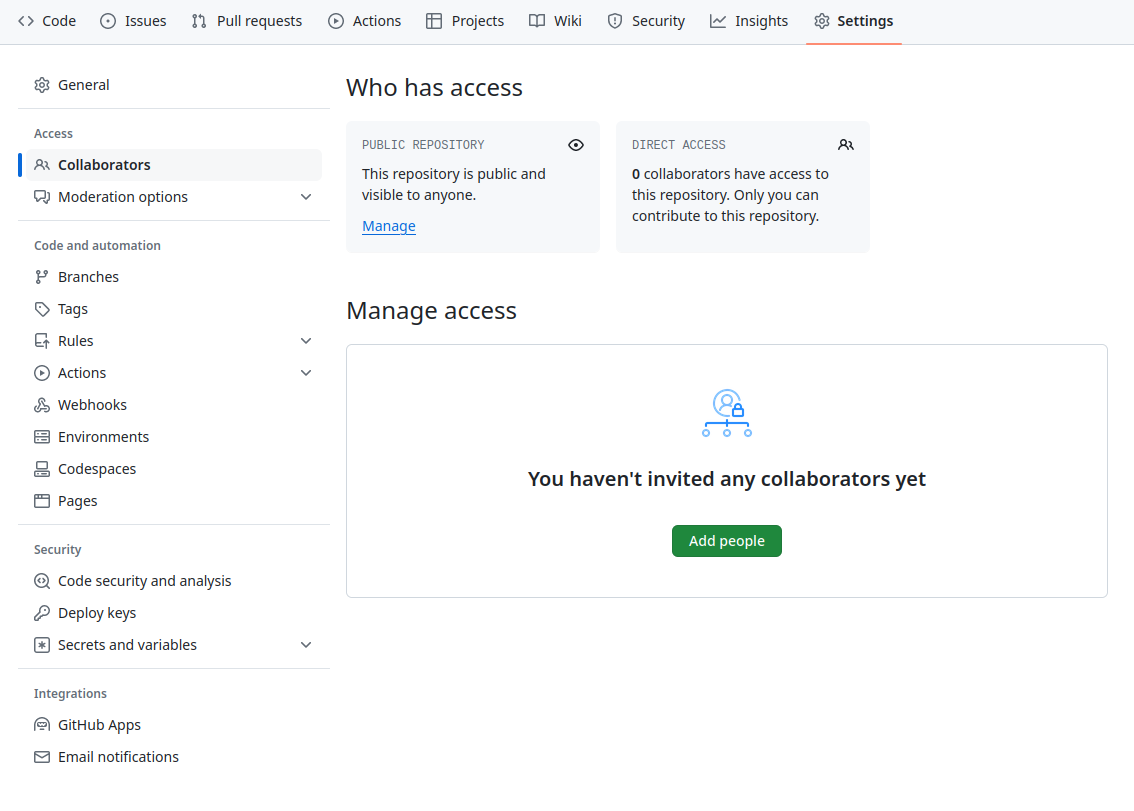
The Owner needs to give the Collaborator access. In your repository page on GitHub, click the “Settings” button on the right, select “Collaborators”, click “Add people”, and then enter your partner’s username.
To accept access to the Owner’s repo, the Collaborator needs to go to https://github.com/notifications or check for email notification.
Now it looks like this

As a collaborator, make a change in the repository and commit it. For example, you could add a recipe for hummus in a new file.
# Hummus
## Ingredients
* chickpeas
* lemon
* olive oil
* salt
$ git add hummus.md
$ git commit -m "Add ingredients for hummus"Then push the change to the Owner’s repository on GitHub:
$ git push origin main![]()
Pulling
To download the Collaborator’s changes from GitHub, the Owner now enters:
$ git pull origin mainFetching
On the command line, the Collaborator can use
git fetch origin main to get the remote changes into the
local repository, but without merging them. Then by running
git diff main origin/main the Collaborator will see the
changes output in the terminal.
![]()
Collaborative workflow
In practice, it is good to be sure that you have an updated version
of the repository you are collaborating on, so you should
git pull before making our changes. The basic collaborative
workflow would be:
- update your local repo with
git pull origin main, - make your changes and stage them with
git add, - commit your changes with
git commit -m, and - upload the changes to GitHub with
git push origin main
It is better to make many commits with smaller changes rather than of one commit with massive changes: small commits are easier to read and review.
![]()
Continue with
Content
![]()